Bootstrap Radio Css
Overview
In some instances the small aspects come to be the most essential since the whole image is actually a whole including lots of tiny information perfected and gathered in order to view and present like a well-oiled shiny machine. Such powerful words might possibly seem a bit too much whenever it goes to make commands yet in the case that you just consider about it for a little there is only a single feature permitting the site visitor to pick up one out of a several obtainable opportunities. And so in the event that you are actually possessing certain forms using this sort of selections controls over your numerous websites does this mean they will all look alike? And more essentially-- would you agree to that?
Luckily for us the current edition of ultimate well-known mobile friendly framework - Bootstrap 4 arrives totally stacked with a bright brand new approach to the responsive behavior of the Bootstrap Radio Toggle regulations and what exactly is bright new for this version-- the so called customized form controls-- a combination of predefined visual appeals you have the ability to simply take and operate for you to add in the so wanted in today times assortment in the visional performances of quite uninteresting form details. So let's check it out how the radio tabs are made to be defined and designated in Bootstrap 4. ( discover more)
Effective ways to utilize the Bootstrap radio button:
To make a radio switch we initially really need a
<div>.form-check.form-check-inline.radio.radio-inline.disabledWithin the
.form-check<label>.form-check-label<input>.form-check-inputtype = “radio”name = “ ~ same name for all the options ~ ”id = “ ~ unique ID ~ “value=” ~some value here ~ ”disabled<input>This is in addition the place to define in the event that you desire the radio control to primarily load like checked as soon as the web page gets loaded. If this is certainly what you're after-- in place of
disabledchecked<input>checkedCheckbox and Bootstrap Radio Toggle examples
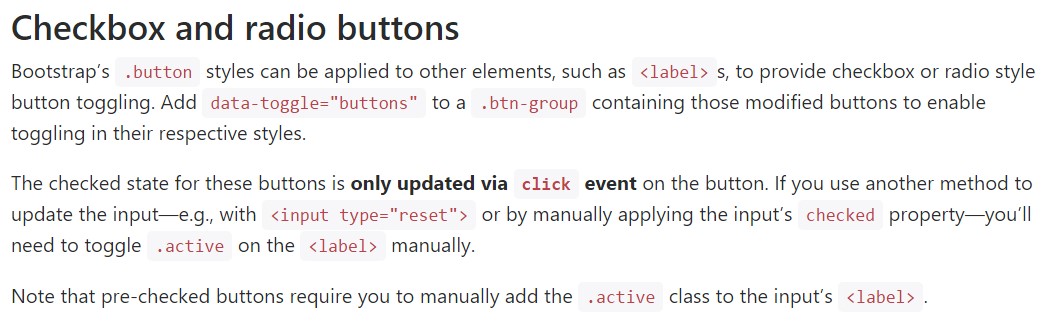
The checked condition for these buttons is only improved with click event on the button. If you put into action an additional option to modify the input-- e.g., with
<input type="reset">.active<label>Take note that pre-checked buttons require you to manually add in the
.active<label>Checkbox

<div class="btn-group" data-toggle="buttons">
  <label class="btn btn-primary active">
    <input type="checkbox" checked autocomplete="off"> Checkbox 1 (pre-checked)
  </label>
  <label class="btn btn-primary">
    <input type="checkbox" autocomplete="off"> Checkbox 2
  </label>
  <label class="btn btn-primary">
    <input type="checkbox" autocomplete="off"> Checkbox 3
  </label>
</div>
Radio

<div class="btn-group" data-toggle="buttons">
  <label class="btn btn-primary active">
    <input type="radio" name="options" id="option1" autocomplete="off" checked> Radio 1 (preselected)
  </label>
  <label class="btn btn-primary">
    <input type="radio" name="options" id="option2" autocomplete="off"> Radio 2
  </label>
  <label class="btn btn-primary">
    <input type="radio" name="options" id="option3" autocomplete="off"> Radio 3
  </label>
</div>
Radio button opportunity
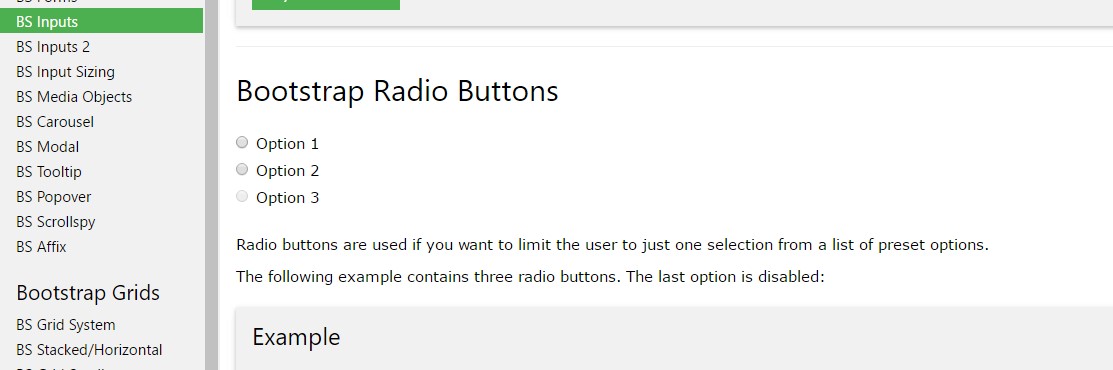
If we would like the user to go for a single of a set of opportunities, we may employ input features of the radio form. ( visit this link)
In the event that there is more than one particular component of this one form with the exact same value with the name attribute, just one have the ability to be chosen.

<div class="row">
  <div class="col-lg-6">
    <div class="input-group">
      <span class="input-group-addon">
        <input type="checkbox" aria-label="Checkbox for following text input">
      </span>
      <input type="text" class="form-control" aria-label="Text input with checkbox">
    </div>
  </div>
  <div class="col-lg-6">
    <div class="input-group">
      <span class="input-group-addon">
        <input type="radio" aria-label="Radio button for following text input">
      </span>
      <input type="text" class="form-control" aria-label="Text input with radio button">
    </div>
  </div>
</div>
Final thoughts
Generally this is the way the default radio buttons get specified and carry on along in Bootstrap 4-- right now all you really need are several solutions for the site visitors to pick from.
Check a few video clip information about Bootstrap Radio Button:
Related topics:
Bootstrap buttons approved records
Bootstrap Radio button - guide
Checkbox radio buttons break entire toolbar styling
